All your videos should be premieres but don’t worry, I’m not expecting you to roll out the red carpet, today we are looking at the premiere function in YouTube, why you should be using it and how to set it up. Watch the video below or scroll down to read the text version.
When you have your video ready to post do you launch it straight away or wait for the best time for your video to get the most traction? It really pays to schedule your videos to release just before you know most of your viewers will be online (I will have a future post delving into the best time to post your videos) but there is a better way than just scheduling the post.
Many Benefits
If you only schedule your video then your viewers won’t know that new content is coming and it will just pop up in their feed. Whereas if you premiere your post, your viewers will get a heads up of what new content is coming and when it will be available making them more likely to come back and tune in.
If you batch produce your content (I’ll have a post on this next week) then you can also let your viewers know what they can expect from your channel for the next few weeks.
Another great benefit is that by premiering your video you also create a watch party. Leading up to the release of your video there will be a count down timer and at the end of this when your video goes live, you can log in and chat with your audience who will all be watching the video in real-time. This is a great way of connecting with your audience and building a fan base.
How To Premiere
So how do you premiere a video? YouTube is just updating to its new uploading page and its new Creator Studio will be the standard by the end of the year so I am only going to show you using these new tools.
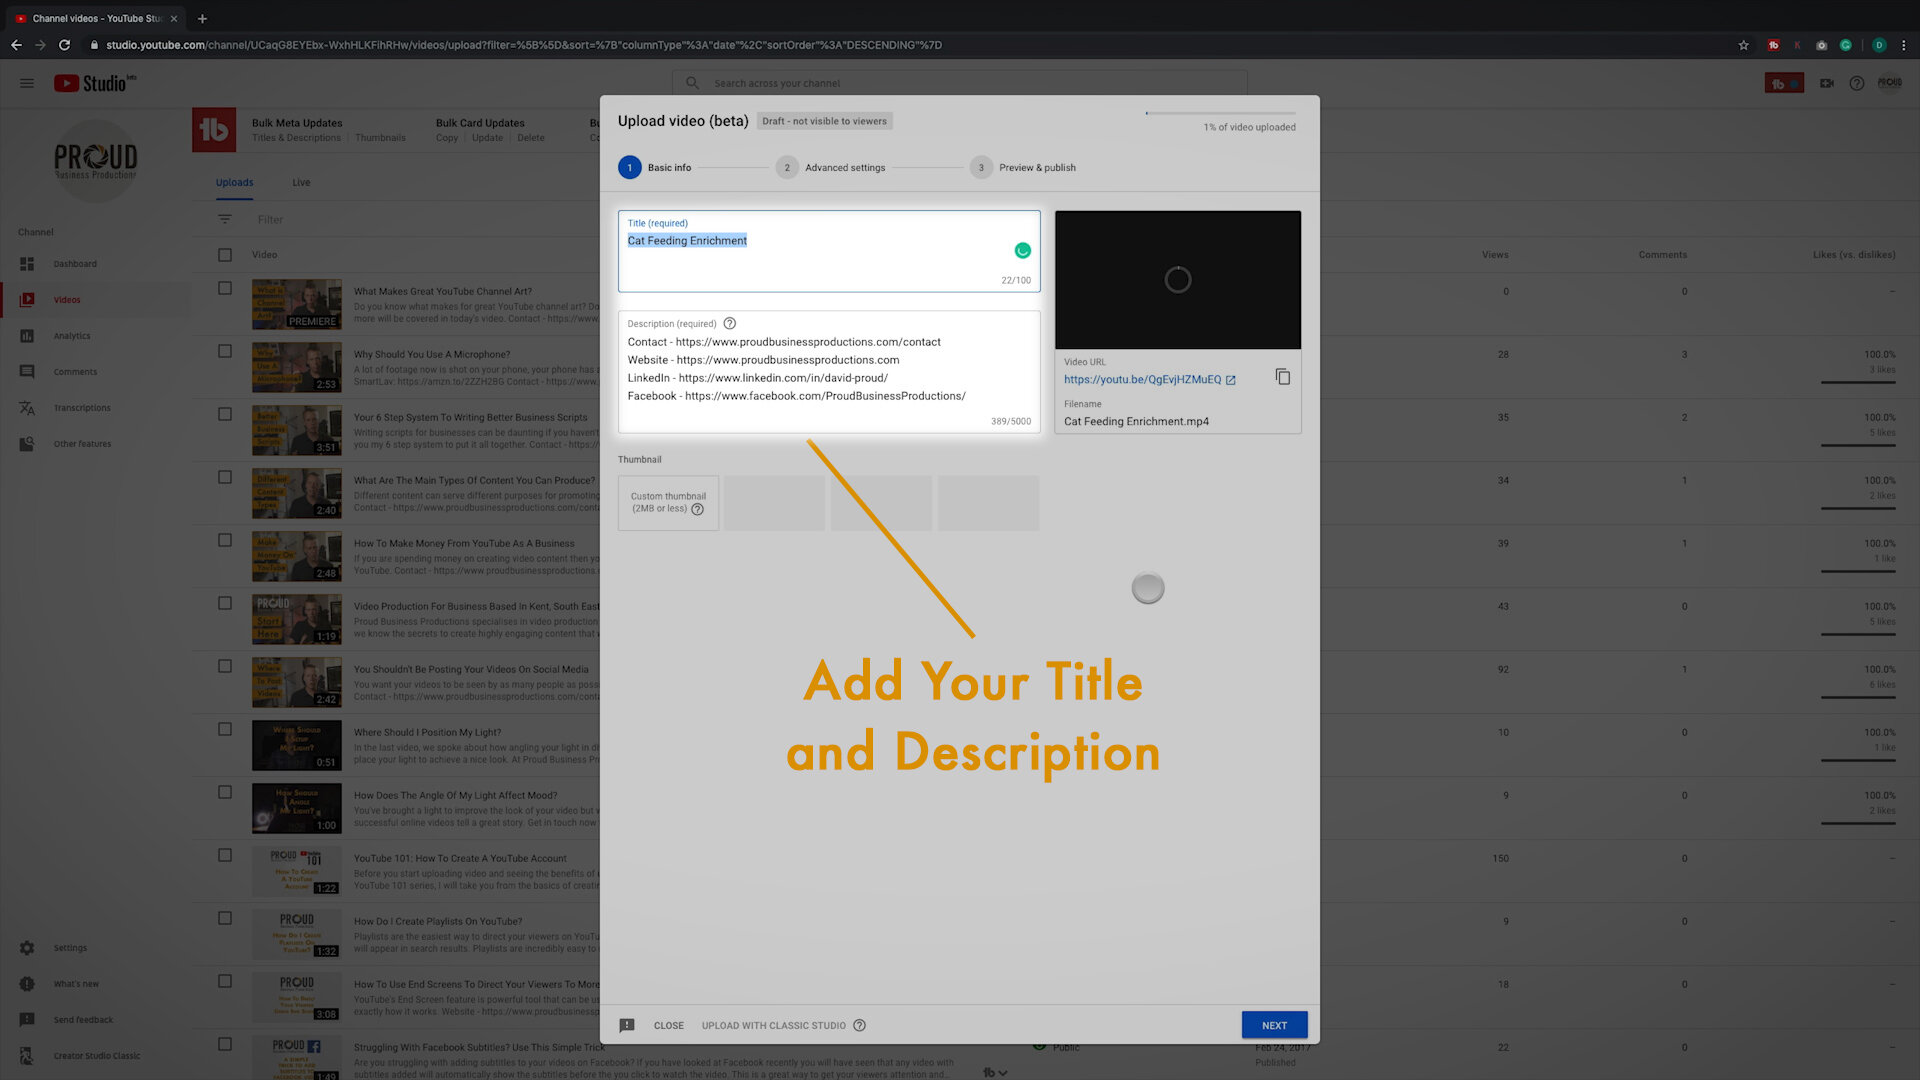
Add your title, description etc. as normal
Start by uploading your video as unlisted. Whilst the video is uploading do your usual things like adding the title, description, tags, playlists and thumbnail.
Click your video.
Once your video has uploaded head to the Creator Studio and select the video you have just uploaded. Do the rest of your usual YouTube setup such as End Screens and Subtitles.
Finish setting up your video.
Change to Public and Set as Premiere
Now head back to the Details page and click where it says ‘Unlisted’ select ‘Public’ and then click ‘Set as premiere’. Just below you will be able to pick ‘Schedule for a later date’ and choose when you want your video to go live. All you need to do to finish is click save.
Pick when you want your video to go live
Now your viewers will be able to see when this video will be premiered and also set reminders to notify them when the video is live.
Now your viewers can be notified
One current drawback is that when you select to premiere a video it can turn off external embedding meaning that if you upload your video to your website the viewer will have to click back to YouTube to watch the video rather than staying on your site. This is easily fixable by waiting until your video goes live, heading in to the advanced settings and ticking ‘Allow embedding’. Just make it a habit to do this after the video has gone live.
Make sure Allow embedding is ticked
That’s A Wrap
So to wrap up, instead of just scheduling your videos, make them premieres. This lets your viewers know what content you have coming up and tells them when to come back to see it. On top of this, you can also live chat with your viewers when they are watching it for the first time and they can turn on notifications for when the video is going live.
Let me know in the comments when you think the best time to post your videos is. If you haven’t yet, subscribe to my YouTube channel to catch my weekly videos.


